Wildlife photography is a rewarding hobby that combines a love for nature with the technical skill of capturing a fleeting moment. If you’re just starting out, here’s a roadmap to help you navigate your new passion, from choosing your first camera to finding the best locations.
Step 1: Gear Up
Don’t feel like you need the most expensive equipment to get started. Focus on these essentials:
Camera Body: Any mirrorless or DSLR camera will work. DSLRs can be a great budget-friendly option, as many photographers are now switching to mirrorless, making second-hand DSLR bodies more affordable.
Sensor Type: Whether it’s a crop or full-frame sensor, it won’t make a huge difference when you’re just beginning.
Lens: For wildlife, a lens with a focal length of at least 300mm is recommended. This provides the reach you need to photograph animals from a distance without disturbing them.
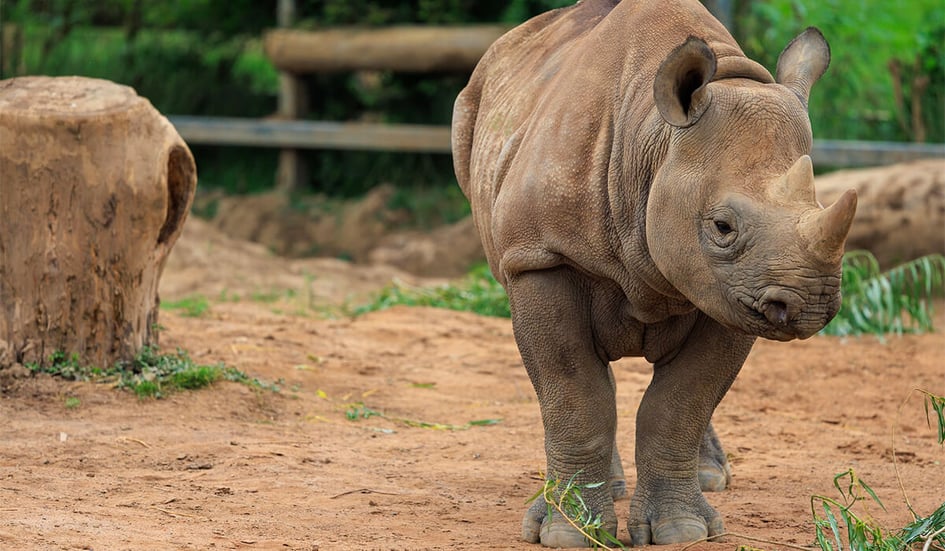
Step 2: Practice with Captive Wildlife
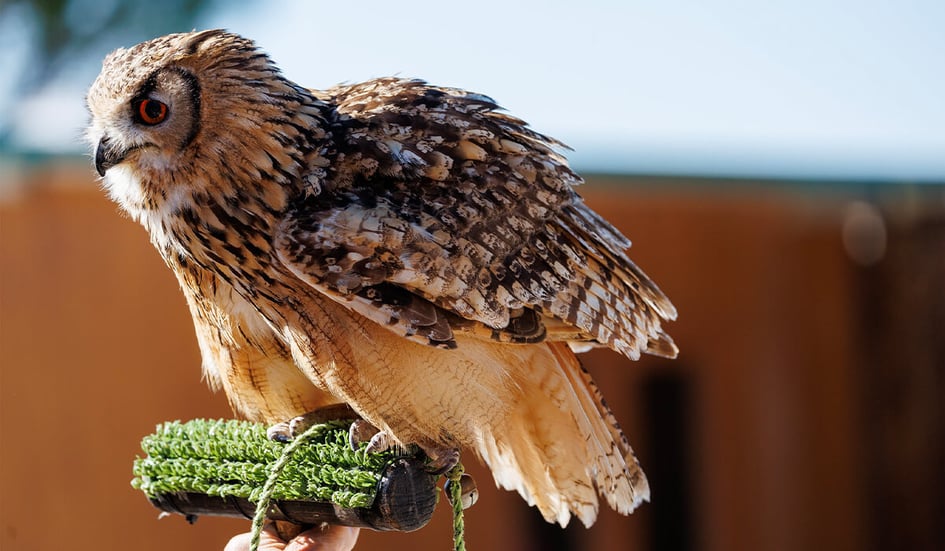
Before heading into the wild, practice with animals that are used to human presence. This allows you to focus on learning your camera settings and techniques without the added challenge of tracking elusive subjects.
Wetland Centres: Locations like WWT Slimbridge are excellent. They offer opportunities to photograph captive animals up close, helping you understand how to capture their details.
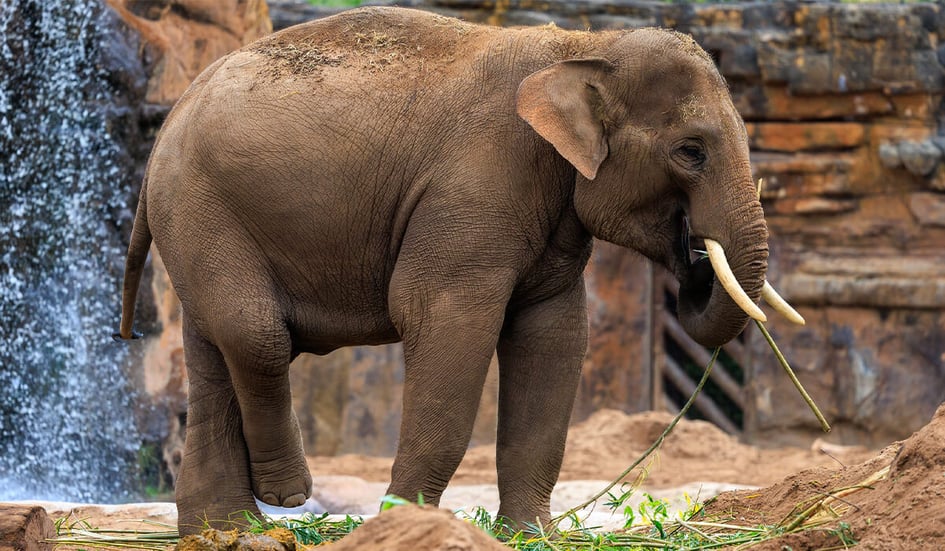
Local Zoos: Any local zoo is a great place to hone your skills and get comfortable with your gear.
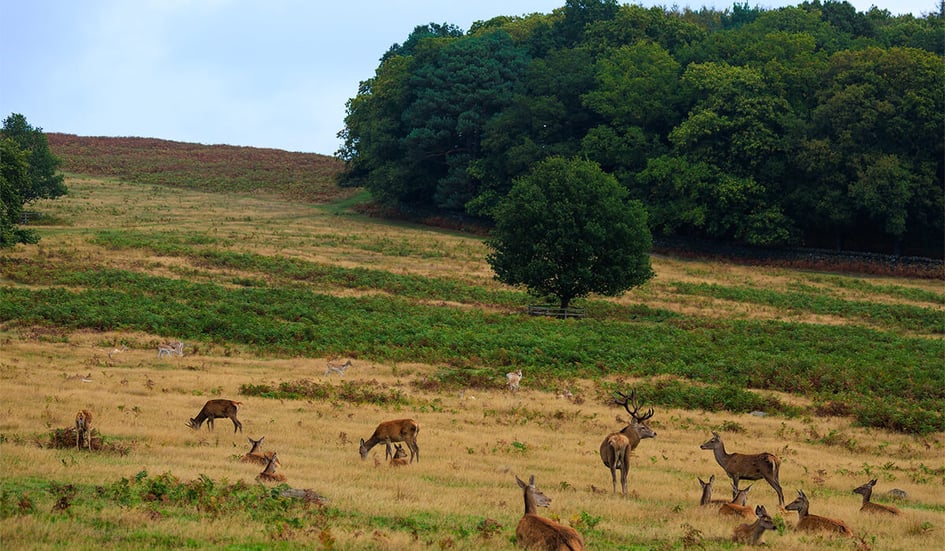
Step 3: Head into the Field
Once you’re confident with your camera, it’s time to explore natural habitats.
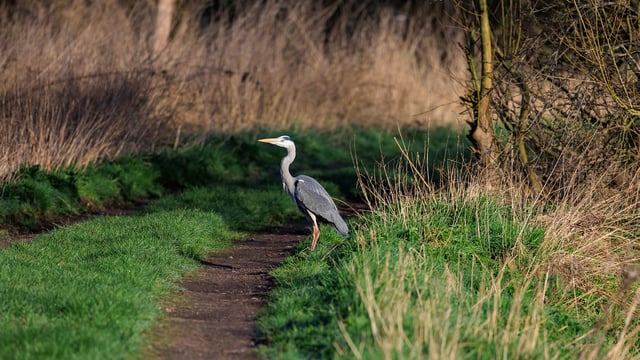
Nature Reserves: Look for local RSPB or other wetland reserves. These areas are managed for wildlife and often have hides that allow for great viewing and photography opportunities.
Early Mornings: Aim to arrive at your location as early as possible. Not only is the morning light beautiful, but it’s also a quieter time when wildlife is more active and less likely to be disturbed by other visitors.
Prime UK Locations: If you’re looking for more adventure, consider visiting renowned wildlife spots like Skomer Island, Mull, or Bradgate Park, where you’re almost guaranteed to see a variety of species.
Step 4: Use Helpful Tools
Leverage technology to enhance your experience:
- Merlin Bird ID App: This app is invaluable for identifying birds by their appearance or song, helping you track and learn about the species you’re photographing.
Tips for Success
Be Patient: Wildlife can be unpredictable. You might visit a location and see many animals one day, and very few the next.
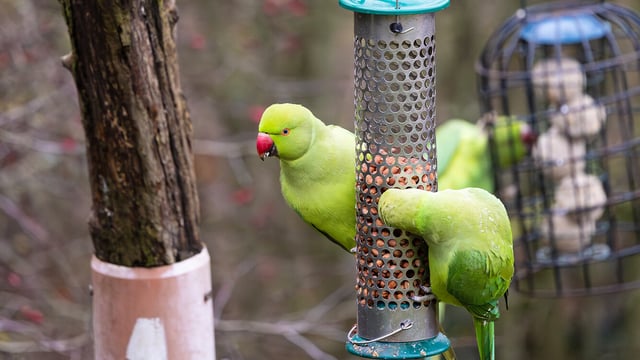
Consider the Seasons: Wildlife activity changes with the seasons. In winter, for example, birds are often found around feeders as natural food sources become scarce.
Enjoy the Experience: Remember to take a break from the lens and simply enjoy being in nature. The process of connecting with the outdoors is just as important as the final photograph.
Wildlife photography is a journey of continuous learning. The more you go out, the more proficient you’ll become. So, grab your camera, head outside, and enjoy the beauty of the natural world.